
Installing Splunk
Setting up AWS
I hope you did your homework on the basics of AWS as I will not be walking you through the entire setup or provisioning of your instances. I will provide the requirements needed for the software to run and the recommended security group settings. If you need additional help on using AWS, I recommend visiting free training provided by Amazon.
Create a VPC
Your instances run in a private, isolated section of the AWS cloud with direct access to the Internet. Network access control lists and security groups can be used to provide strict control over inbound and outbound network traffic to your instances. I recommend using the following private address 10.0.0.0/16
Create two subnets, one for Splunk and one for application servers(data sent to Splunk)
Splunk Applications: 10.0.0.0/24 Will allocate 251 IP addresses
Web Applications: 10.0.1.0/24 Will allocate 251 IP addresses
Provision Instances
The following requirements are not set forth by Splunk. I chose these configurations based on what will work for a minimal non-data-intesive learning environment. For those of you who may be looking to provision a real enterprise environment, I encourage you to visit the official splunk documentation.
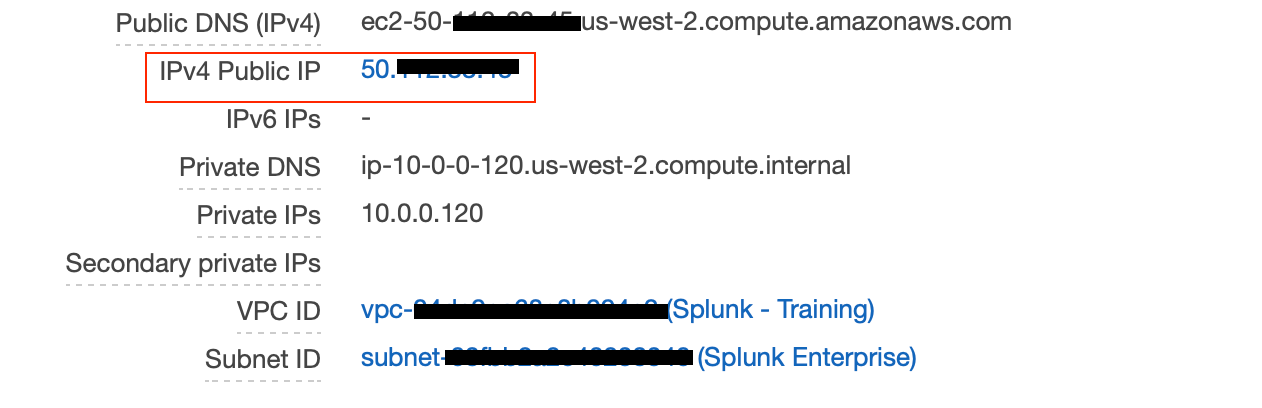
Make sure to assign a Elastic IP address to each instance(This is considered bad practice so only do this for training purposes)
Create 4 Security Groups
| Name | Allow All | Allow 10.0.0.0/16 | Allow "My IP" |
|---|---|---|---|
| SH-SG | 443 | 8065, 8089, 8191, 9887 | 22, 8000 |
| IDX-SG | 514, 8065, 8089, 9887, 9997 | 22, 8000 | |
| DS-SG | 8089 | 22, 8000 | |
| Hack Me | All TCP/UDP |
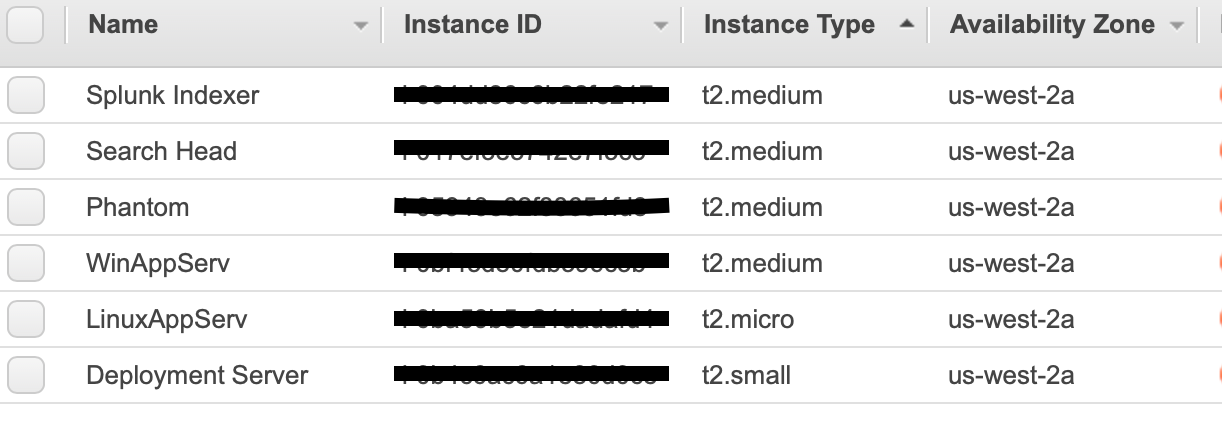
Provision the Following Instances
| Name | OS | Processor | Ram | Disk | Security Group |
|---|---|---|---|---|---|
| Splunk Search Head | Ubuntu | 1vCPU + 1 per user | 2GB/4GB | 8GB/32GB | SH-SG |
| Splunk Indexer | Ubuntu | 2vCPU/4vCPU | 4GB/8GB | 64GB/128GB 800/1200 IOPS |
IDX-SG |
| Splunk Deployment Server | Ubuntu | 1vCPU | 1GB/2GB | 8GB/16GB | DS-SG |
| Application Servers | Windows/Linux | 1vCPU | 1GB/2GB | 30GB | Hack Me |
You can provision as many or as few application servers as you wish.
Example
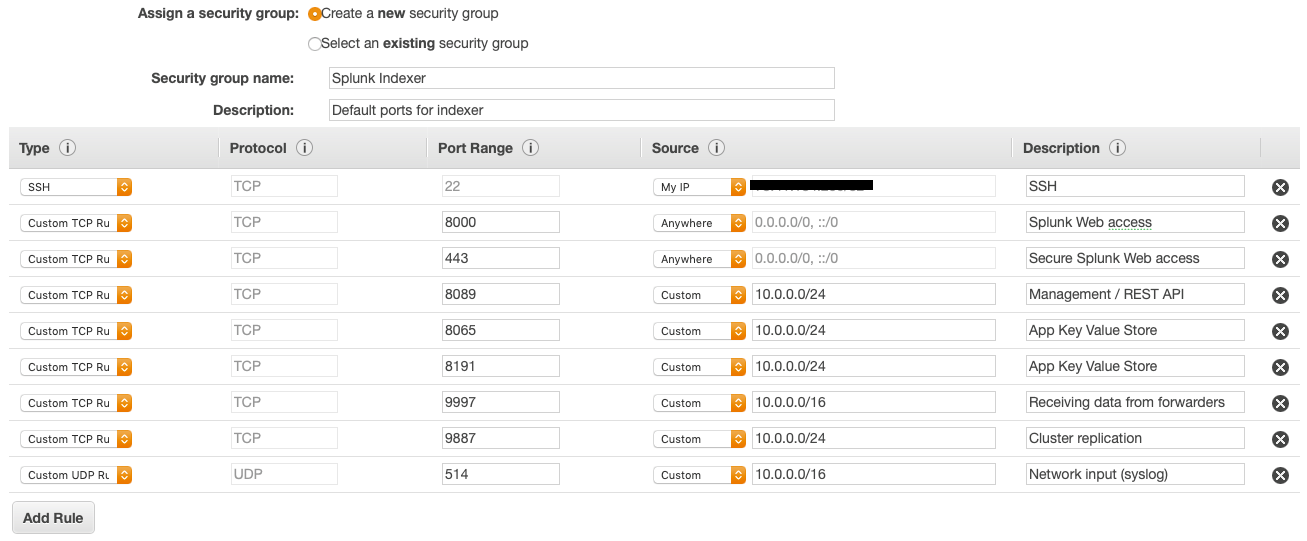
I've added additional rules than are required for this tutorial
Download Splunk
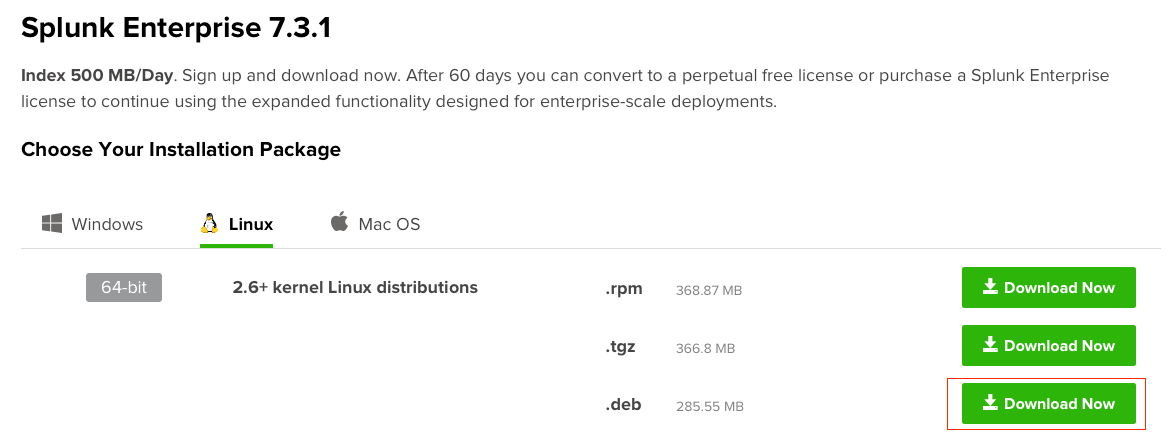
This step requires a Splunk account, so please create one if you haven't already done so. Throughout this tutorial, I will be using the wget command to download the correct Splunk package for each instance. After logging into Splunk visit the following page (download splunk) to get started. You will need Splunk Enterprise and the Universal Forwarder packages for each desired operating system. I have provided screenshots on how to get the wget link.
At the download homepage click on Download Free 60-Day Trial

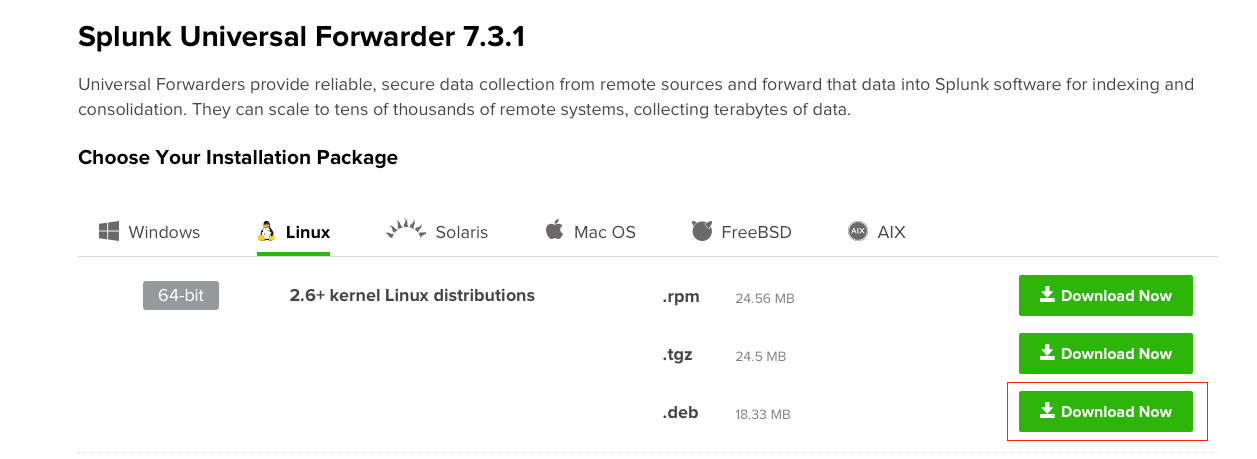
In this tutorial, we are using Ubuntu, a Linux based operating system for our Enterprise instances. Click on Linux and download the deb package.
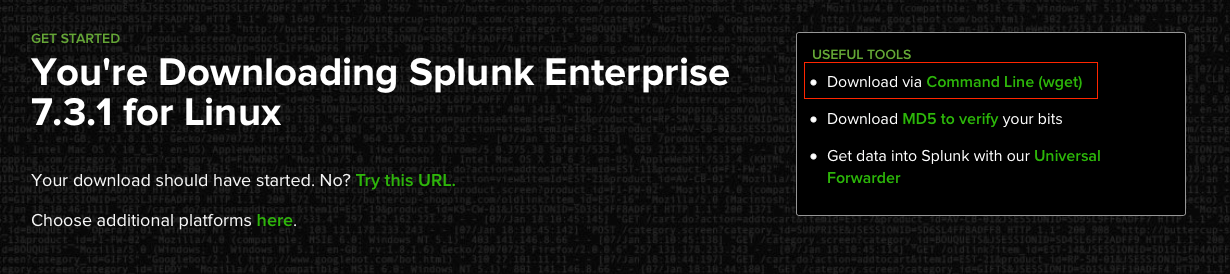
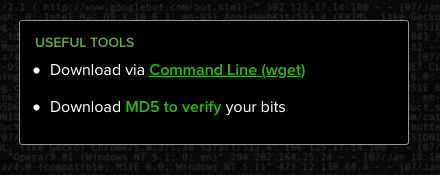
The download will start automatically, you should also have a USEFUL TOOLS option. Click the Command Line (wget) option and copy the link to wordpad or another text editor for later use.
Download Splunk Universal Forwarder
The previous steps apply for the Universal Forwarder as well, but you will need to repeat this process for both Linux and Windows versions. Download Link
Installing Splunk
It's highly recommended that you update and upgrade your machines before installing Splunk.
It will be assumed you know how to connect to your instance using either a SSH client or Amazon's Web Console. Make sure you allocate a public IP address for easy connection. Also, make sure that the security group is appropriately configured to allow only your IP address to connect via SSH.
Splunk Enterpirse Installation
Splunk Enterprise will need to be installed on every instance except for systems that require a Light or Universal Forwarder. Install the enterprise package on all other systems, including those needing a Heavy Forwarder.
mkdir downloads && cd downloads
wget -O splunk-7.3.1-bd63e13aa157-linux-2.6-amd64.deb $DownloadLink
# Install splunk using dpkg (debian)
dpkg -i splunk-7.3.1-bd63e13aa157-linux-2.6-amd64.deb
# Remove downloaded package
cd .. && sudo rm -rf downloads
# Splunk lives in /opt/splunk
sudo cd /opt/splunk
sudo bin/splunk enable boot-start
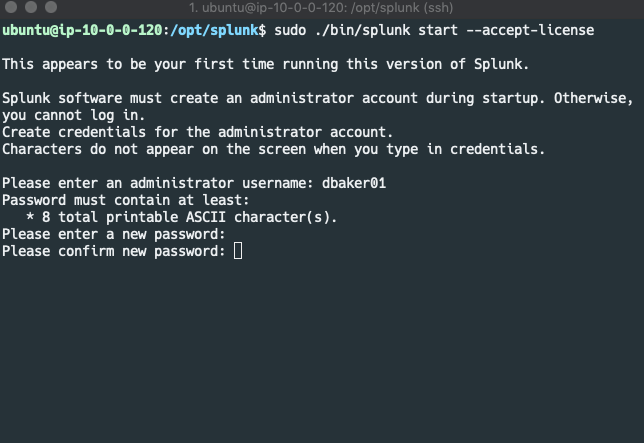
sudo bin/splunk start --accept-license
# When Prompted create admin username and password
Repeat the above steps for every instance
Splunk Universal Forwarder Installation
Steps are very similar to that of the Enterprise package.
mkdir downloads && cd downloads
wget -O splunkforwarder-7.3.1-bd63e13aa157-linux-2.6-amd64.deb $DownloadLink
# Install splunk using dpkg (debian)
dpkg -i splunkforwarder-7.3.1-bd63e13aa157-linux-2.6-amd64.deb
# Remove downloaded package
cd .. && sudo rm -rf downloads

# Splunk lives in /opt/splunkforwarder
sudo cd /opt/splunkforwarder

sudo bin/splunk enable boot-start
sudo bin/splunk start --accept-license
# When Prompted create admin username and password
Repeat for each (nix) instance needing a Splunk Forwader
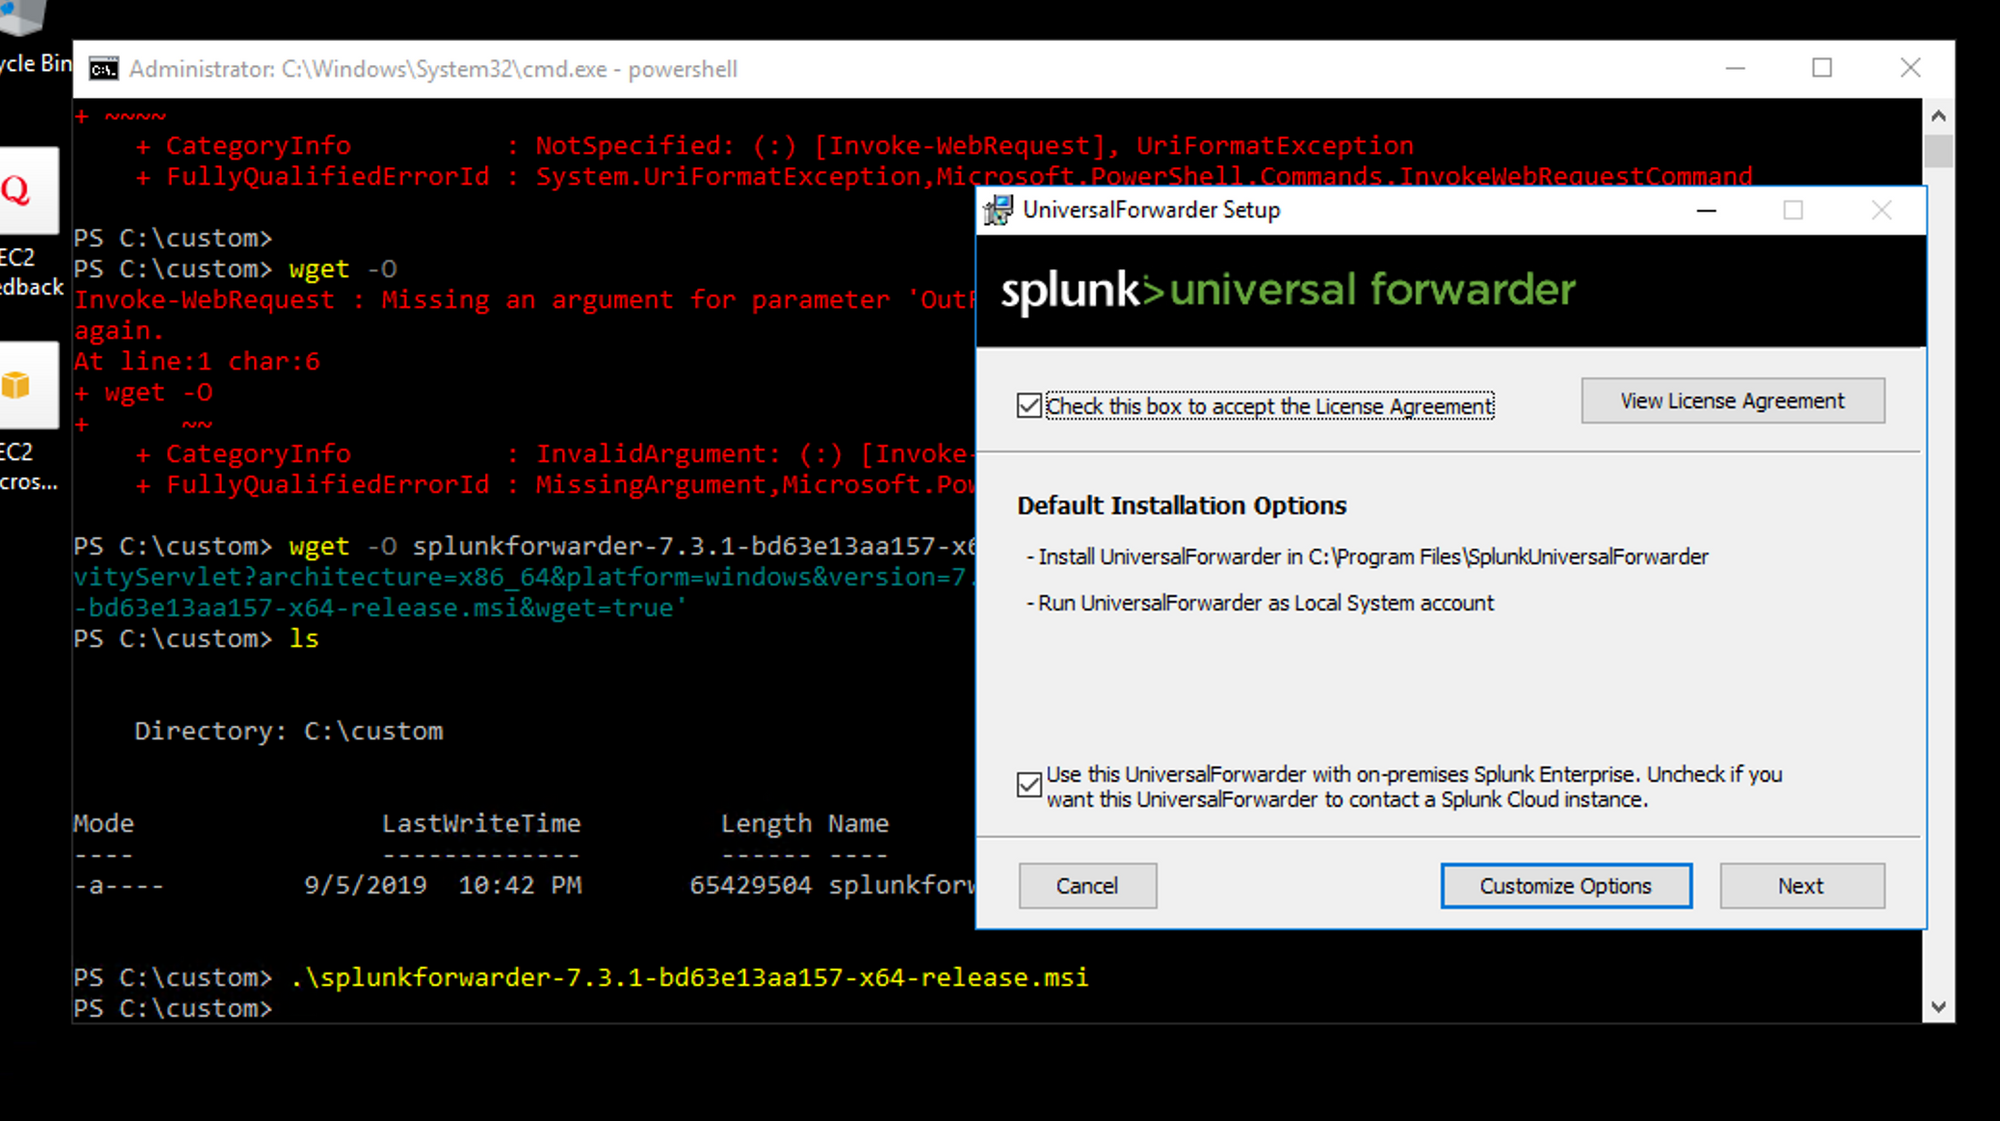
Windows
Installing a forwarder on Windows is done using the install wizard.
- Select the advanced option when installing.
- When asked to provide a deployment server and indexer provide the private IP address and use the default port numbers.
- When asked which data you would like to monitor, I would select the ones in which you may find interesting.
- I suggest following the documentation if you need additional help
Homework
At this point in the series you should have installed the following components; Search Head, Indexer, Deployment Server/ License Manager, and two universal Forwarders.
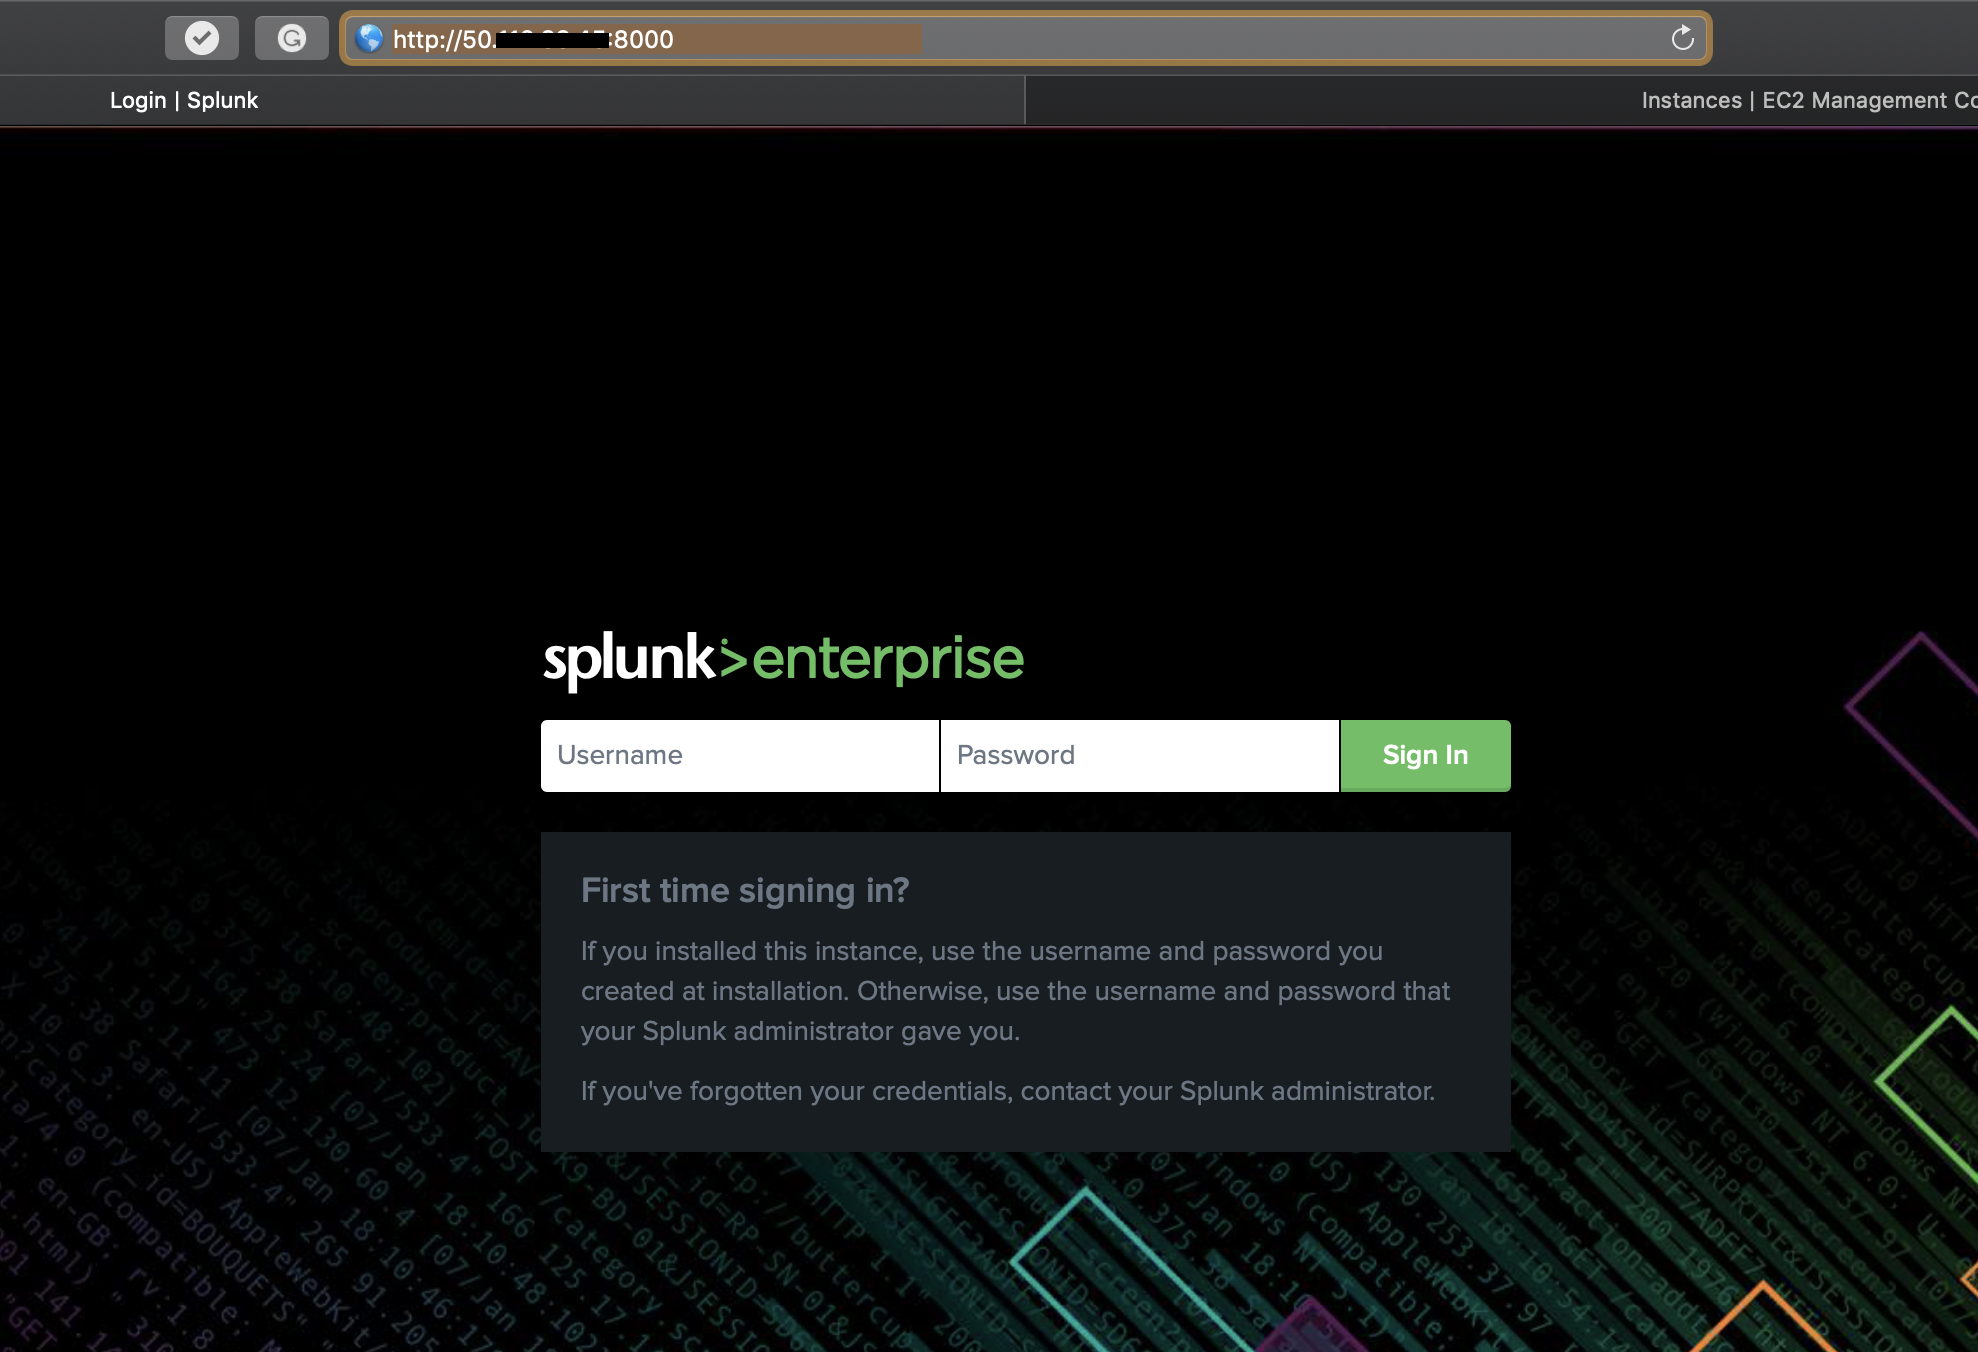
To verify your work, login into Splunk Web by pasting the public IP address into the browser including the port number. Usage: http://$ip_address:8000. If you see this homepage and are able to login that is as far as you need to go for now.
Next Step is configuring
See: Configuring Splunk